1. Create account
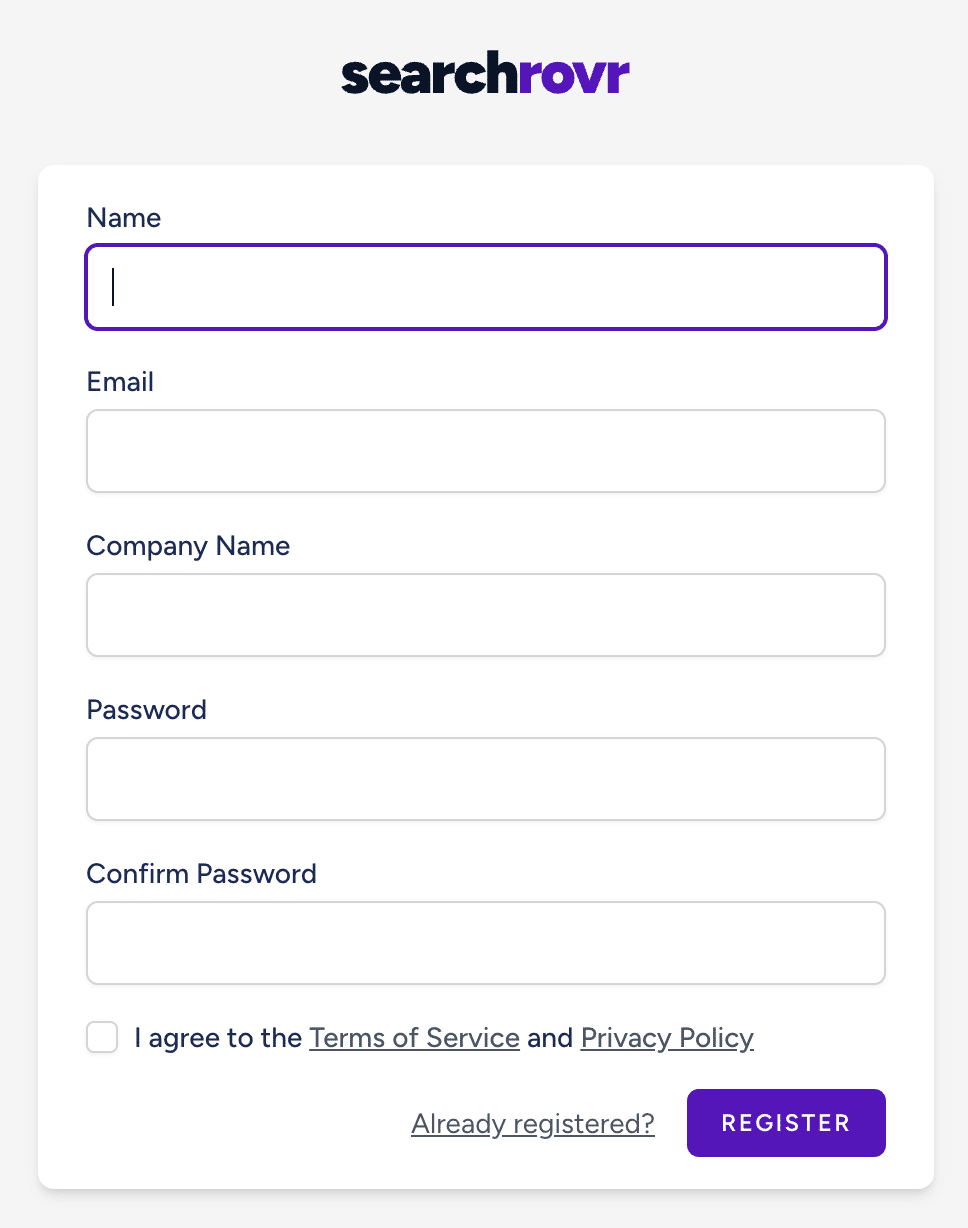
Go to app.searchrovr.com and click “create an account” on the login form.
When creating your account, take note of the Company Name field, this will be the default organization for your SearchRovr account. Learn more about managing organizations, billing, and engines.
2. Add plugin to WordPress
Once logged in to your https://app.searchrovr.com account, you can download the latest version of our WordPress plugin.
Once downloaded, navigate to your WordPress dashboard and the Plugins > Add Plugin. Click the “Upload Plugin” and select the searchrovr.zip file you just downloaded. Once uploaded, click “Activate”
3. Generate an Access Token
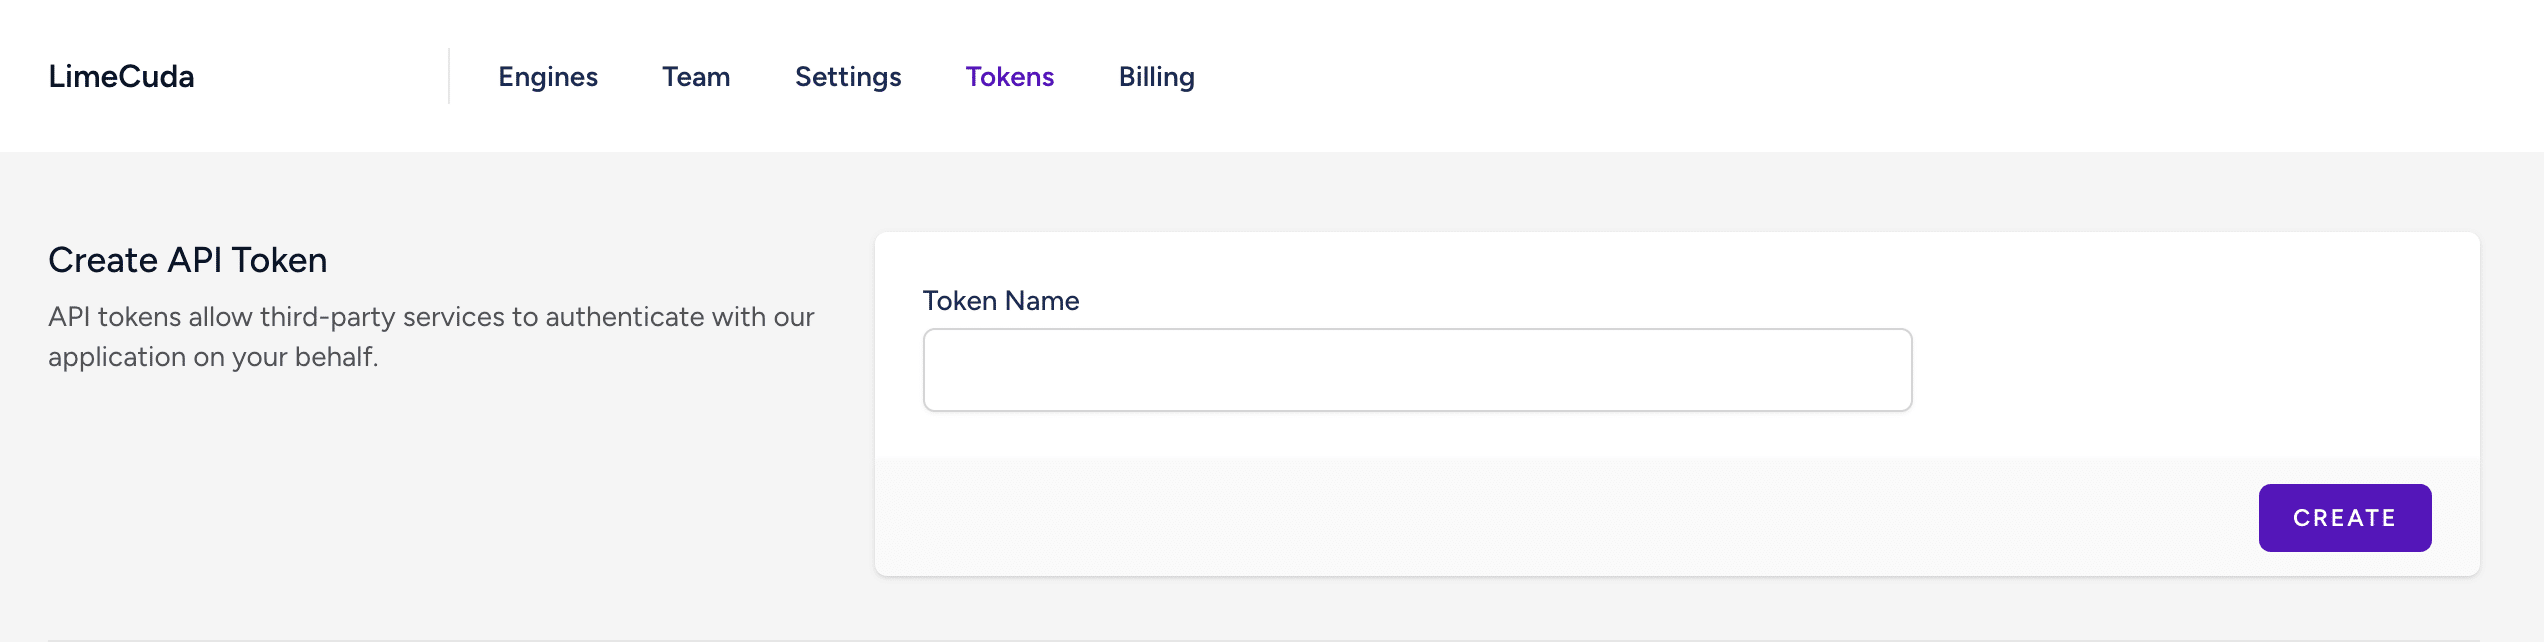
Next, you’ll need to generate an access token to allow your WordPress dashboard to communicate with your SearchRovr account. Navigate back to your https://app.searchrovr.com account and click the “Tokens” tab.
You’ll need to give your token a name. This part isn’t too important but for keeping track of your tokens, a good practice would be to name the token the URL of the site you’ll be using it on (ex. myresources.com).
Once you click “Create”, copy the token that is generated. You will not be able to see this token again once you close that modal! If you accidentally close the modal before copying, just delete that token and create a new one.
Now, navigate back to your WordPress dashboard and go to the SearchRovr > API Connection page. Paste in your API token there and click “Save Changes”
Great! You’re now ready to configure your first engine!
Related: How to exclude content by taxonomy / category / tag